The following will explain how to insert Jumpers and perform routing when a Jumper is needed during routing.
For more details about registering and confirming used Jumpers, refer to Jumper in DRC/MRC Settings.
| The following will explain how to insert Jumpers and perform routing during routing. |
| (1) |
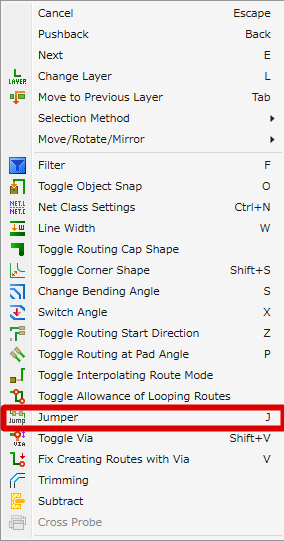
While routing,
Right click
Select => [Jumper]. |
|
 |
| (2) |
Select the Jumper that you want to use from "Jumper" in the Property Window.
* Or toggle by right-clicking,
=> [Toggle Jumper].
(Press the shortcut "Space" key) |
|
 |
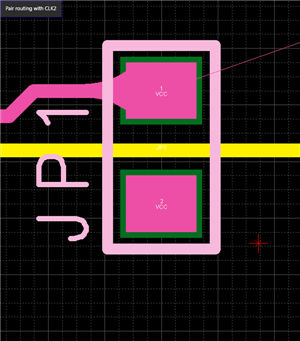
| (3) |
Adjust the Jumper direction using the cursor, and then click to determine it. |
|
 |
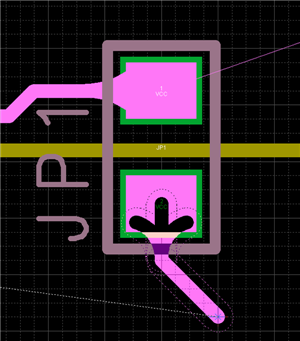
| |
The Jumper will be inserted and you can continue performing routing. |
|
 |
To replace a Jumper, select a Jumper, Right click => [Replace Jumper].

