Here, use the Place Pin dialog to place pins.
To place multiple pins such as connectors and FPGAs at the same time, Array Placement is convenient.
To change the pin shape, use Replace Pin.
After creating symbol shapes, place necessary pins to the component symbols.
By placing pins, wires are connected, and Net Information can be given.
The following is the operation for placing pins. |
| (1) |
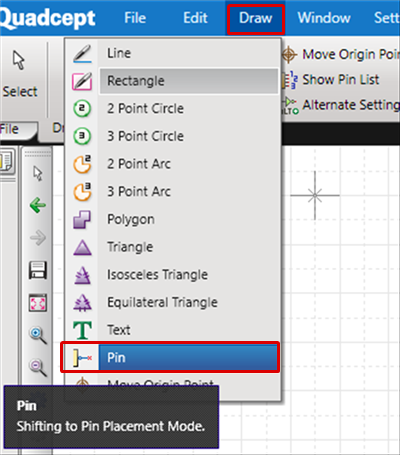
Click [Draw]
=> [Pin]
=> The "Place Pin" dialog will open. |
|
 |
| (2) |
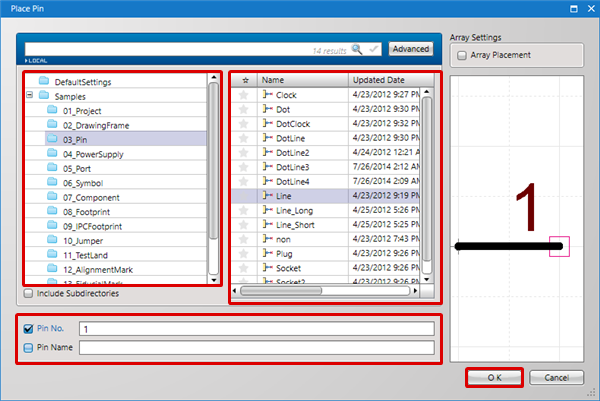
Select a directory |
| (3) |
Select a pin |
| (4) |
Input "Pin Name"/"Pin No." |
| (5) |
Click "OK" |
|
 |
| (6) |
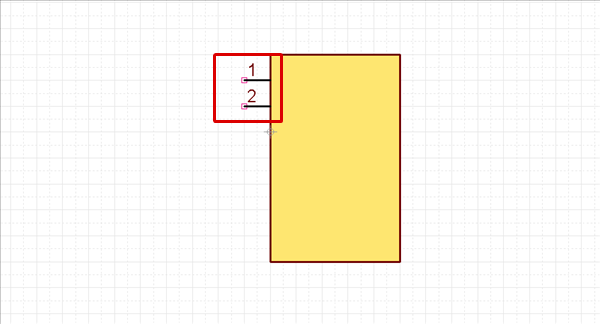
Place the necessary number of pins. |
| |
* If the Pin Count is high, Array Placement is convenient. |
|
 |
- For Place Pin, placement is easier if you use Pin Rotate/Mirror.
- Pin Name can be input during the symbol phase or can be changed when creating a component.
The Place Pin dialog has an "Array Placement" function.
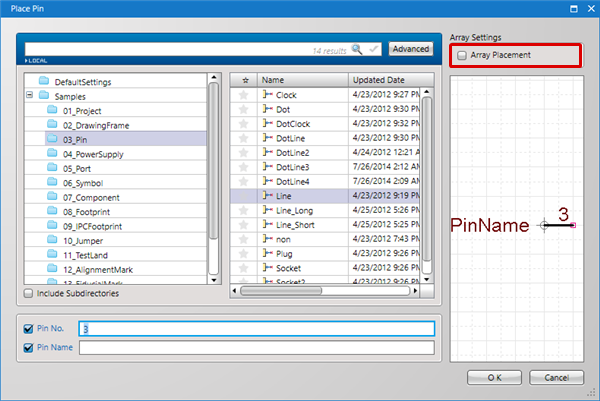
When "Array Placement" is checked, it is possible to place multiple pins at the same time by inputting the Number, Direction, and Interval. |
| (1) |
Place a check next to "Array Placement" |
|
 |
| (2) |
Configure Array Placement settings |
| |
* For more details about configuring settings, refer to Array Placement Settings. |
| (3) |
Click "OK" |
|
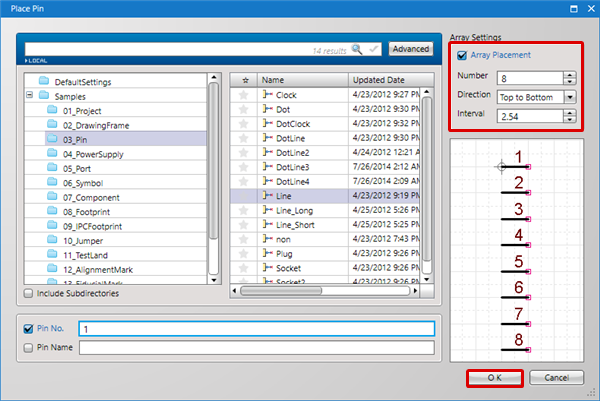 |
Array Placement Settings
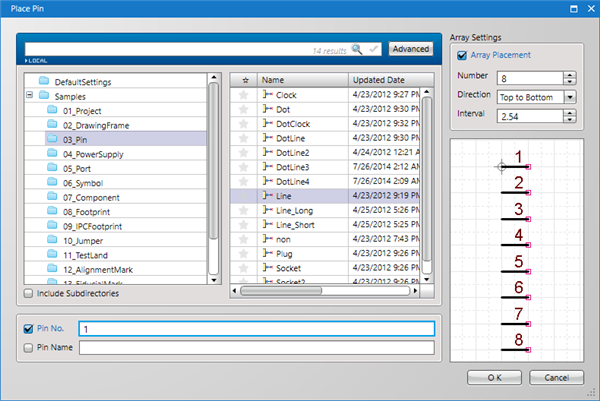
| Item |
Content |
|
Pin Count
|
Specify the Number for pins.
|
|
Direction
|
Select either "Top to Bottom" or "Bottom to Top".
|
|
Interval
|
Set the Pin-to-Pin Interval.
|
Replace Pin
| The following will explain how to replace a symbol pin shape, and how to replace them as a batch. |
| (2) |
Right click
Click => [Replace Pin] |
|
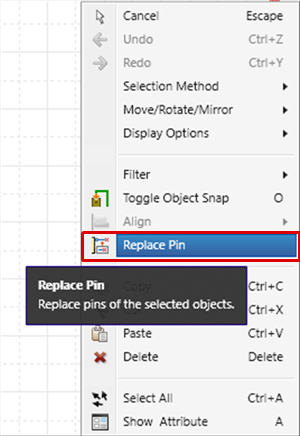 |
| (3) |
Select a pin for after replacement, and then click the "OK" button. |
|
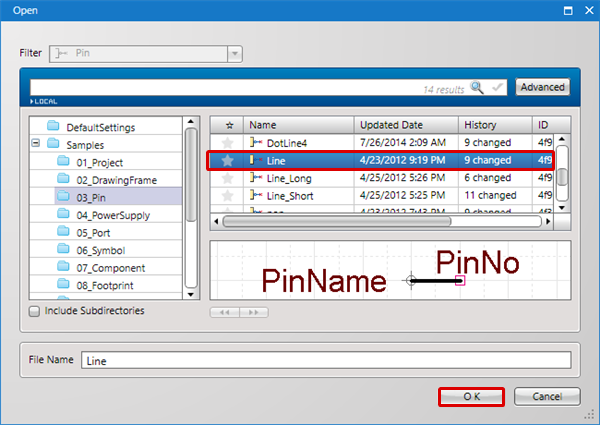 |
| (4) |
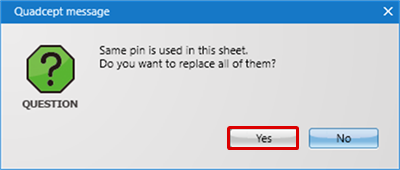
To change all pins that are the same as the selected pin as a batch, click "Yes".
* To execute only for the selected pin, click "No". |
|
 |
Show Pin List
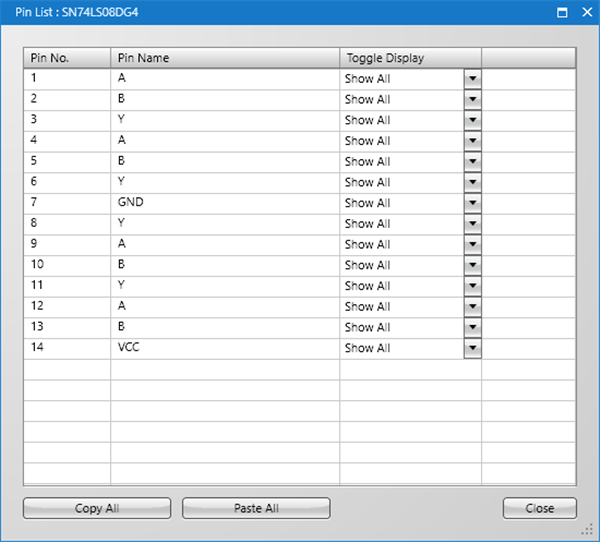
Pin Information can be set after componentization,
but it is also possible to perform real-time editing of the Pin Name, display, etc., from the list when editing symbols.
| Item |
Content |
|
Copy All
|
Copies the contents of the Pin List to the clipboard. The contents can be confirmed and edited by pasting to a text editor or Excel, etc.
|
|
Paste All
|
Pin List Information that was edited using a text editor or Excel, etc., can be pasted.
* Pasting is done on the top item. Keep in mind that if sorting is done between copying and pasting, it may be offset.
|
| The following will explain how to show the Pin List. |
| (1) |
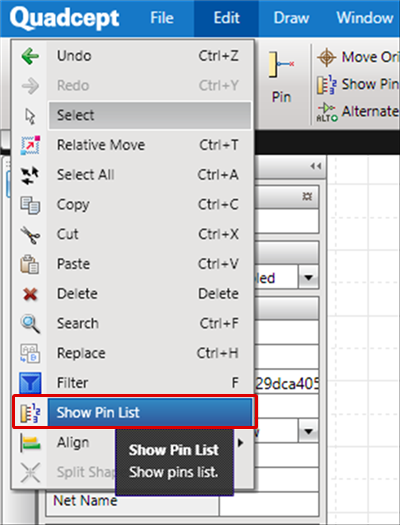
Click [Edit]
=> [Show Pin List] |
|
 |
| |
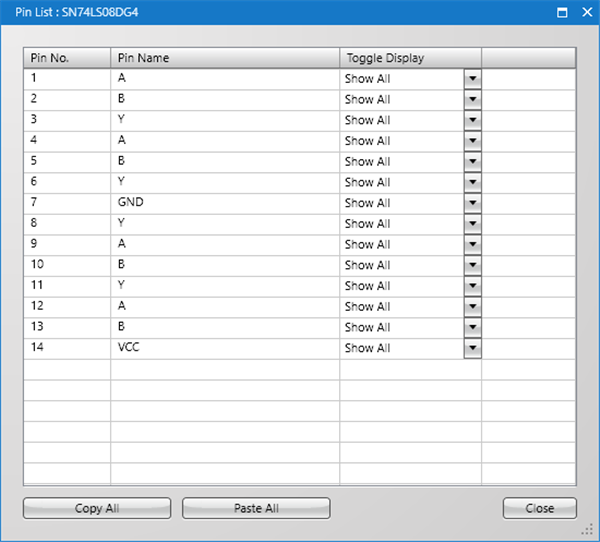
The Pin List will be displayed. |
|
 |
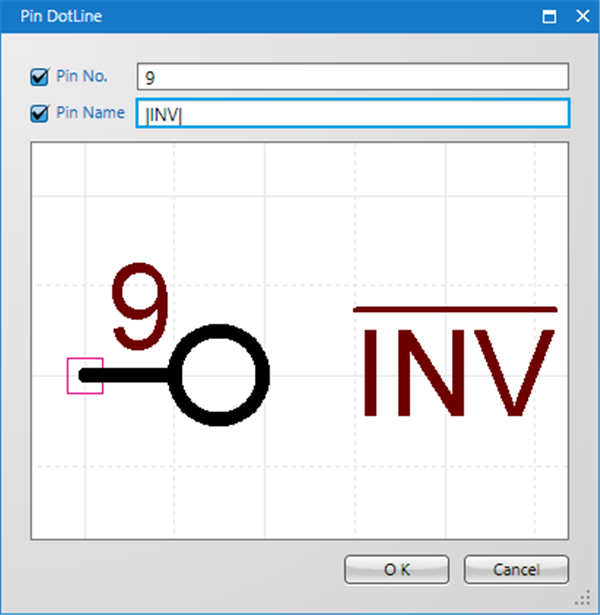
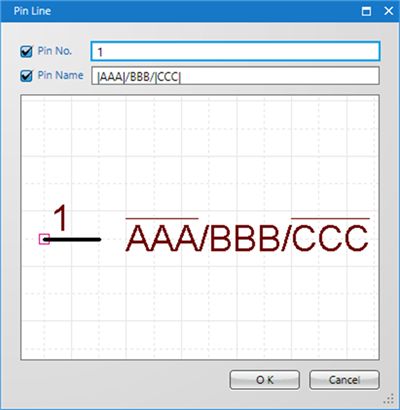
Inputting Negative Logic Pin Names
The character string entered after "|" or between two "|" is a negative logic notation.
| Example of Input Text |
Display |
|
|INV|
Or
|INV
|
|
|AAA|/BBB/|CCC|
*If there is more than one negative logic, it must be input between two "|". |
|


