Quadcept : Creating Components
Extra: Settings Components as Unmounted
This page explains how to specify components as unmounted. The mounted or unmounted state of a component can be toggled when creating components or after placing them on a design sheet. Specifying components as non-populated allows you to exclude the components when you export BOM files. In addition, non-populated components are displayed with no mount marks, and this enables you to easily identify which component is unpopulated while designing schematics.
Setting Components as Unmounted
What Is No Mount Mark?
Setting Components as Unmounted
| Setting Components as Unmounted |
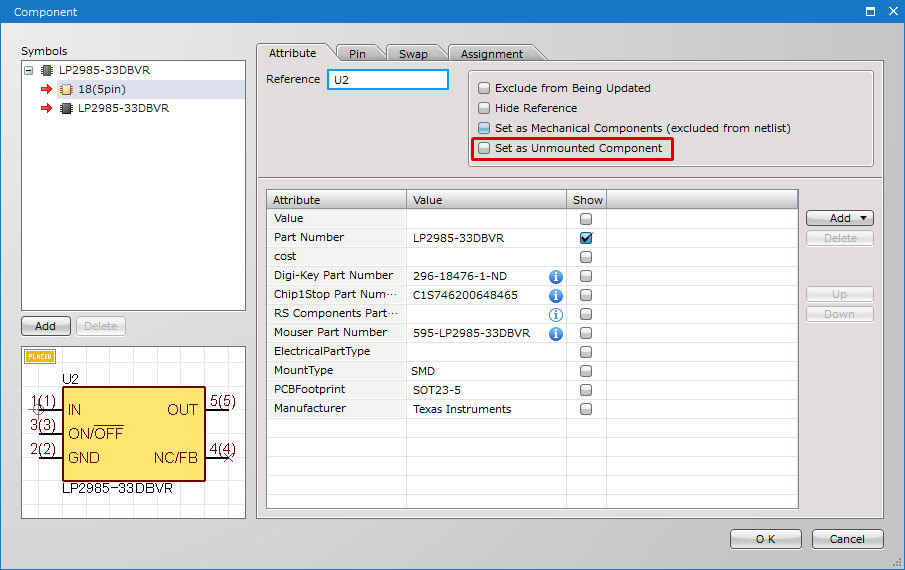
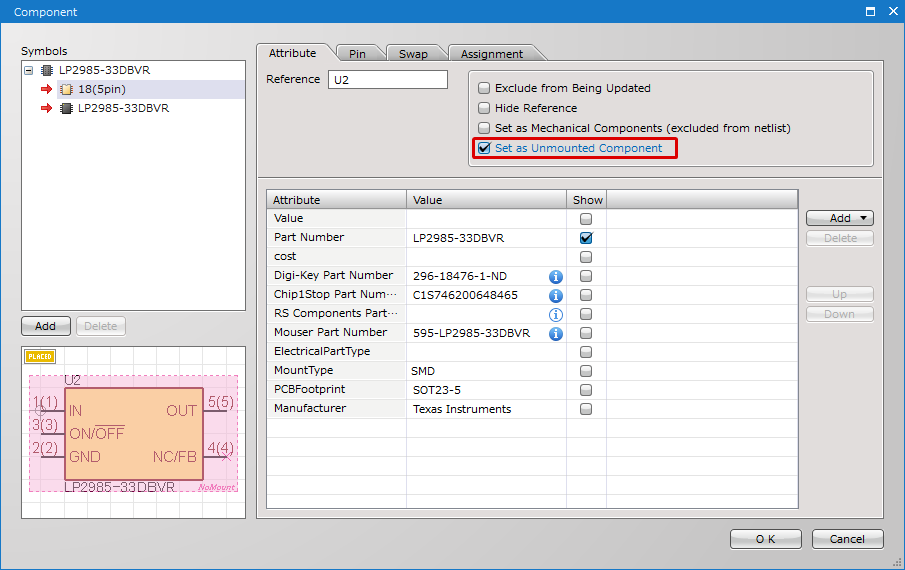
| The following explains how to specify components as non-populated. The populated or non-populated state of a component can be toggled when creating components or after placing them on a design sheet. |
|
 |
||
|
 |
||
|
 |
You can also specify components as unmounted on the Property window, Comp Attributes and its component creation sheet.
What Is No Mount Mark?
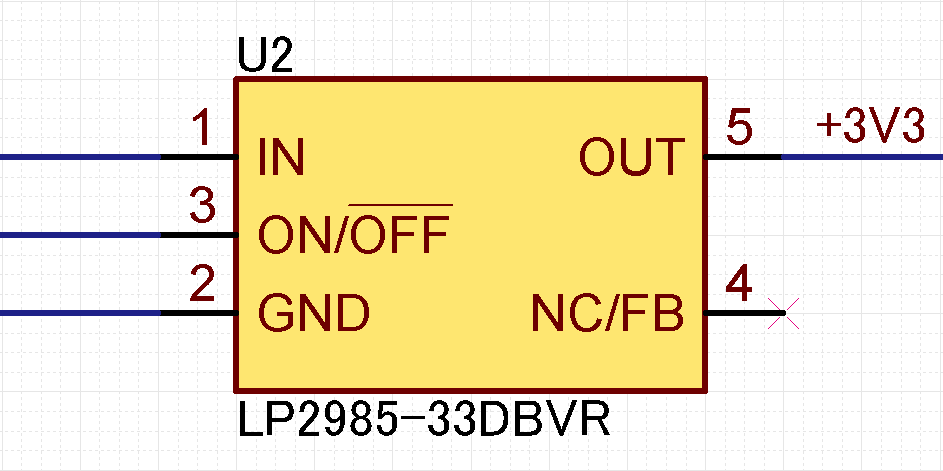
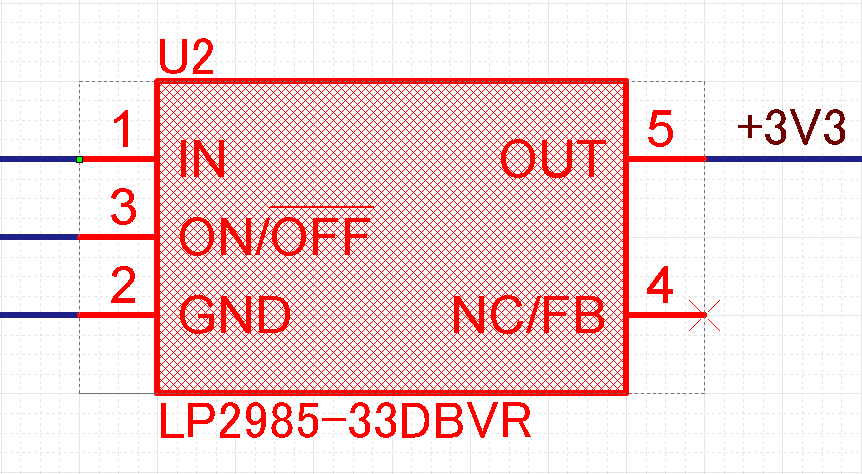
Enabling the Set as Unmounted Component option for a component displays a no mount mark on a schematic sheet.
| Set as Unmounted Component : Disabled | Set as Unmounted Component : Enabled |
|
|
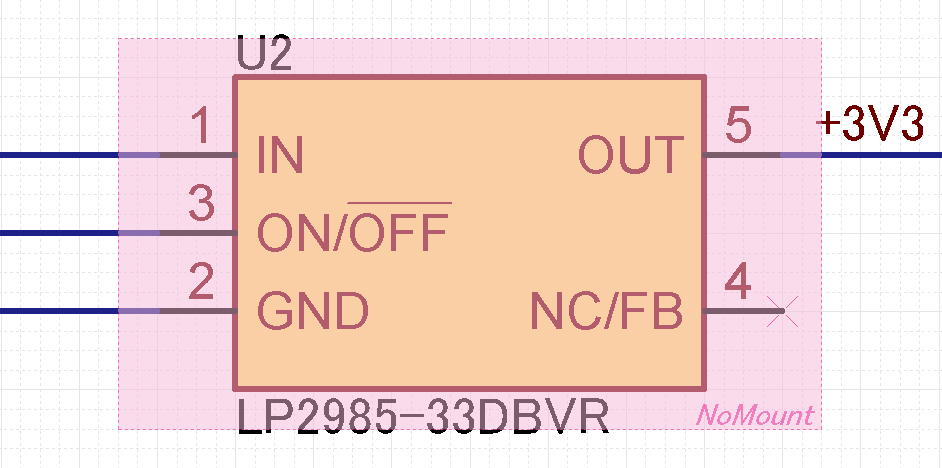 |
The color of no mount marks can be changed at the Color setting in the Settings dialog.
The visibility of no mount marks can be toggled by clicking [No Mount Mark] in the Display menu.


