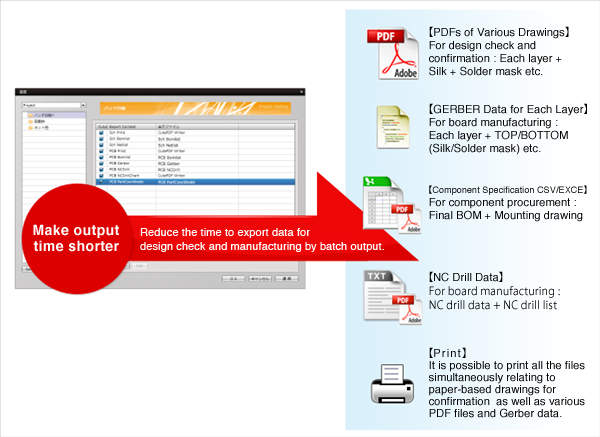
Batch output is a function that allows you to export all files simultaneously including schematics and PCBs from netlists or Gerbers, prints, etc.
When designing circuits, it takes much time to export all items including each drawing output for drawing checks (print/PDF), data for manufacturing (each Gerber export/NC), for component procurement (component specifications), and data for mounting instructions (mounting drawing). Mistakes can also occur.
With Quadcept's batch output function, it is possible to automatically create various necessary documents, manufacturing data, mounting data, and BOMs at one time using the batch output/creation function.
Multiple specification is also possible for PDF export, print output, various manufacturing export, and export (CSV), which saves time.
By exporting items that have already been specified, it is possible for anyone to export and give instructions quickly without making mistakes, which greatly reduces total work time.
The following are methods for running batch output.
Method for Batch Output from the Project Window (Running Batch Output of a selected Project)
Method for Batch Output from the Menu (Running Batch Output using the Project of an opened document)
* For more details about batch output target files and the specification method, refer to Batch Output.
| The following will explain how to select the project you want to run from the Project Window, and how to run batch output. |
| (1) |
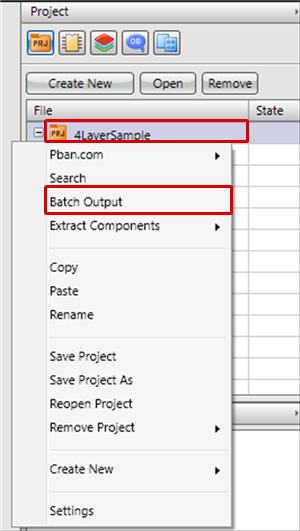
Select a project for batch output from the Project Window. |
| (2) |
Right click =>
Click [Batch Output]. |
|
 |
| (3) |
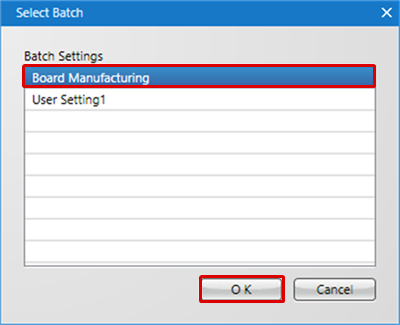
Select the Batch Settings you want to export. |
| (4) |
Click "OK". |
|
 |
| (5) |
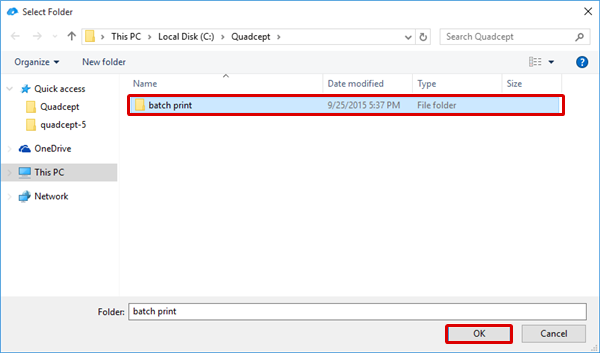
Select an export folder and click "OK". |
|
 |
| (6) |
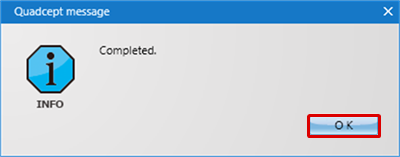
Click "OK". |
| |
The file will be exported to the selected folder. |
|
 |
| Run batch output of the project for the opened document. |
| (1) |
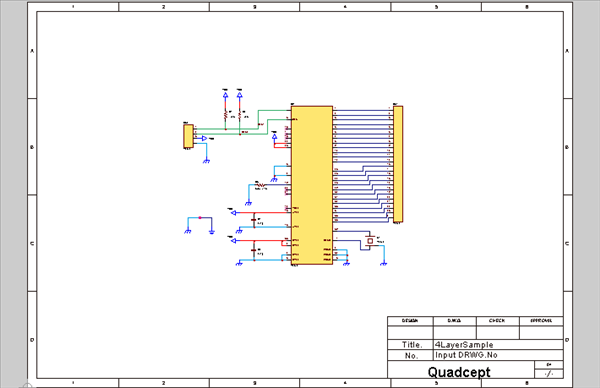
Open the design drawing (schematic or PCB is possible) |
|
 |
| (2) |
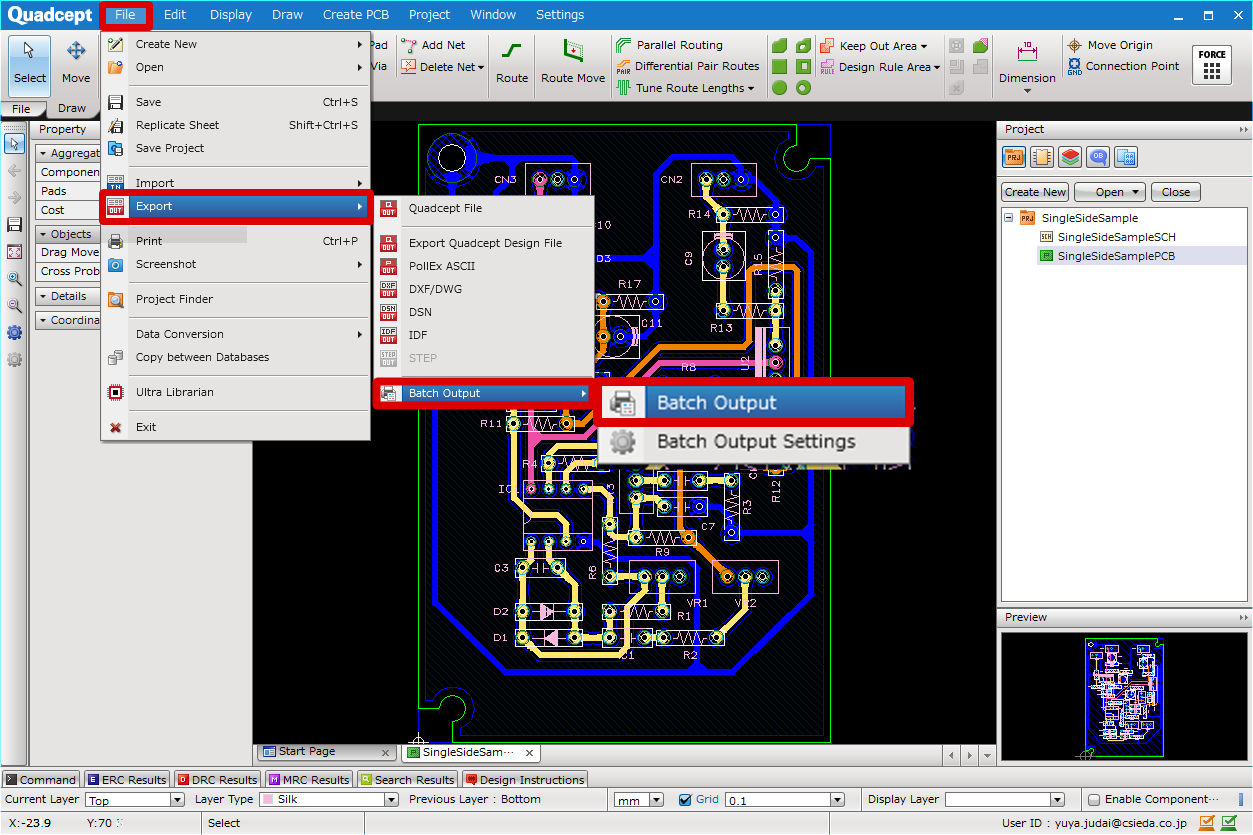
[File]
Click => [Export]
=> [Batch Output]
=> [Batch Output]
=> The "Batch Selection" screen will open.
|
|
 |
| (3) |
Select the Batch Settings you want to export. |
| (4) |
Click "OK". |
|
 |
| (5) |
Select an export folder and click "OK". |
|
 |
| (6) |
Click "OK". |
| |
The file will be exported to the selected folder. |
|
 |


